

 Search


Have you ever wondered how professional bakers get a thick, crunchy crust on their artisan bread while still maintaining a soft, chewy inside? Or, have you pondered on the depth of flavor coming from other people’s bread and asked yourself, “Why can’t I do that?” There are two significant factors that contribute to great bread that many home bakers are missing: fresh flour and steam.
Steam
Those ovens you see behind the counter at your favorite bakery aren’t like your conventional one at home: they’re steam-injection ovens. The steam is responsible for that crunchy crust you find on Artisan breads in places like Tartine Bakery in San Francisco or local bakeries we love like Harmons or Eva’s Bakery.
In contrast, conventional ovens are designed to evacuate moisture, making it very difficult to produce the amount of steam necessary for such a result.
Flour
Here’s the reality: you can’t get professional-quality bread without using fresh flour. Did you know that flour comes from things called wheat berries? There are different types of wheat berries for different purposes, and you can mix and match them to get different flavors in your bread. The mass-produced flour you find at your grocery store will never produce the same taste as the flour you grind at home or buy from a local mill.
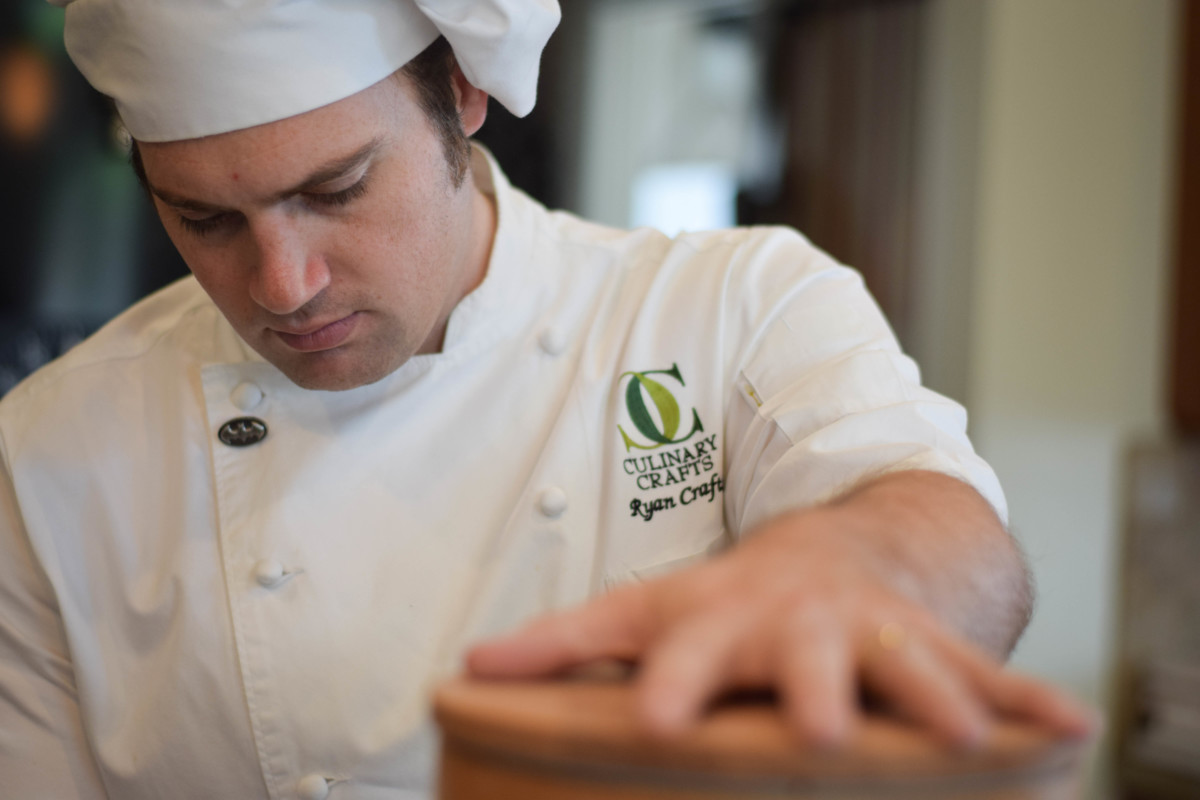
So, is it possible to get that same professional bread at home? We asked our favorite food expert, Ryan Crafts, and he not only told us it’s possible, he showed us how. On a beautiful summer day last month, Ryan packed up his breadmaking supplies and headed to the home of our design team and long time friends, Keith and Kami, for a day of breadmaking and music from the album The Best of Bread. Ryan made sure to dress the part of master baker.
The coolest thing about Ryan’s bread technique is that it is SO SIMPLE! You can use basically any bread recipe (although we recommend sourdough) and the only changes you need to make are adding a Dutch oven and fresh flour. That’s it. When the loaf is baked inside an enclosed Dutch oven, the natural steam from the bread is trapped inside, creating that wonderful artisan crust we’re looking for.
Fresh Flour for Your Homemade Artisan Bread
Fresh flour bought from a local mill will definitely improve the taste of your bread. However, to make your bread even better you can do as the Crafts do and grind your own wheat (pictured below). Grinding your own wheat vs. store bought flour is like going to the farmers market for tomatoes instead of to Wal-mart. It’s just better. Plus, you can experiment with different wheat and find unique combinations you love! Ryan used mostly hard red wheat berries for his bread, here’s a great post from Mel’s Kitchen Cafe about the different wheat types if you don’t know what that means.



Fancy wheat grinders can be a little expensive, but hand-crank varieties are actually quite affordable (like this one). You can even make flour in many food processors and blenders these days. Grinding your own wheat may also save you money in the long run as whole wheat berries are cheaper than flour.
Don’t have a wheat grinder and/or not inclined to buy one any time soon? That’s fine. Just use the freshest flour you can and follow the directions below when you reach the proofing and baking stages.


Pro Tip
A nice linen lined proofing basket makes the home baker’s job a lot easier.

Dutch Ovens
To create that precious steam that gives homemade artisan bread its amazing crunchy outside and chewy inside, we’ll use a Dutch oven inside your conventional oven. Ryan uses three different types of Dutch ovens, all with slightly different results.
The first is a classic Dutch oven, the same kind you can take camping. The really cool thing about Ryan’s is that the top is flat. (It doubles as a skillet, check it out here). A flat top matters because about half-way through the baking process we remove the top of the Dutch oven to complete the browning process. A flat top allows you to put your Dutch oven in upside down, then remove the larger part half-way through, as opposed to just removing the lid. That makes for a better tasting/looking crust. But if your Dutch oven has a handle on top, you can still use right-side up, like normal, and you’ll still get an amazing crunchy crust.


The second type of “Dutch oven” Ryan used was actually a ceramic bread cloche. Find it here.


Ryan’s third type of “Dutch oven” was a ceramic loaf baker, found (here). This one has holes in the top for ventilation. By allowing some steam to escape during baking, you end up with a softer crust, which is great if you’re making bread for sandwiches.

Baking Homemade Artisan Bread
While your bread is rising, preheat your oven to 450 F. An important step when baking bread like this, is to pre-heat your Dutch oven or cloche with your oven. Heating slowly prevents damage and cracking.


After your oven is preheated and your dough has risen, it’s time to put the two together! Remove your Dutch oven/cloche from the oven. Coat the bread to avoid stickage–Ryan used cornmeal but you could also use some extra flour. Coat the top of your dough and your Dutch oven, and carefully place the loaf into your Dutch oven. It’s important to do this gently so you don’t let air escape the dough.
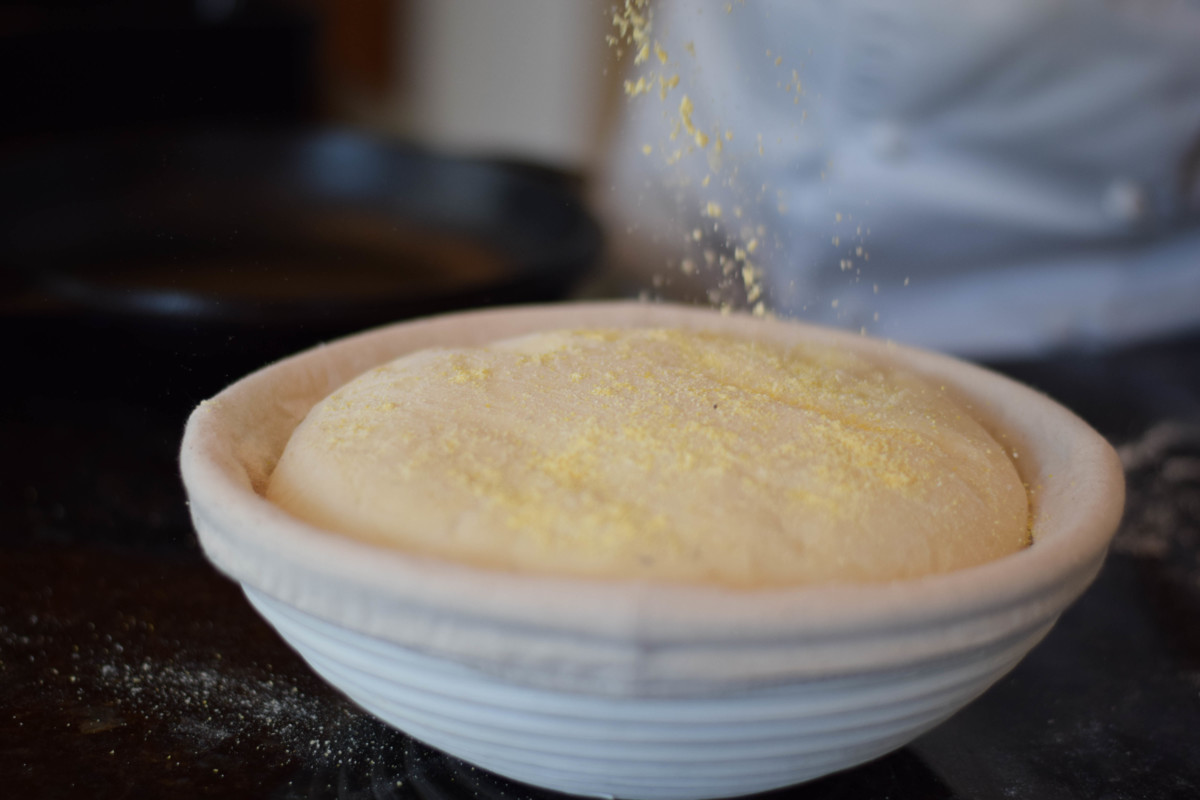


It’s also important to score your bread. Ryan used a bread lame (pronounced: lahm), but you could use a razor blade or other sharp knife. Scoring is done so that the bread has somewhere to expand. Basically, your bread is going to expand out of its loaf shape whether you want it to or not, scoring it just gives you a chance to choose its direction of expansion.


Cover and bake for 20-25 minutes.

Repeat this process for any additional loaves you are making.
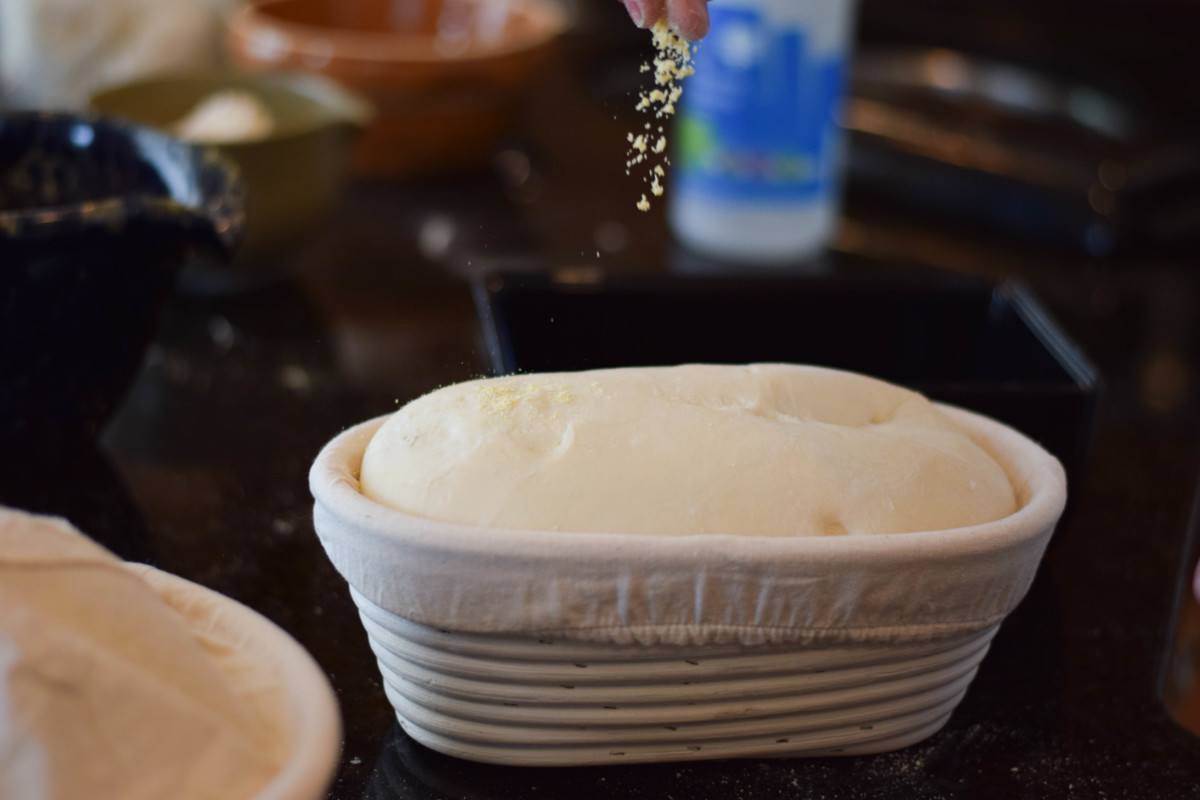


After 20-25 minutes is up, remove the top from the Dutch oven. Place back in the oven to bake for 20-25 more minutes.


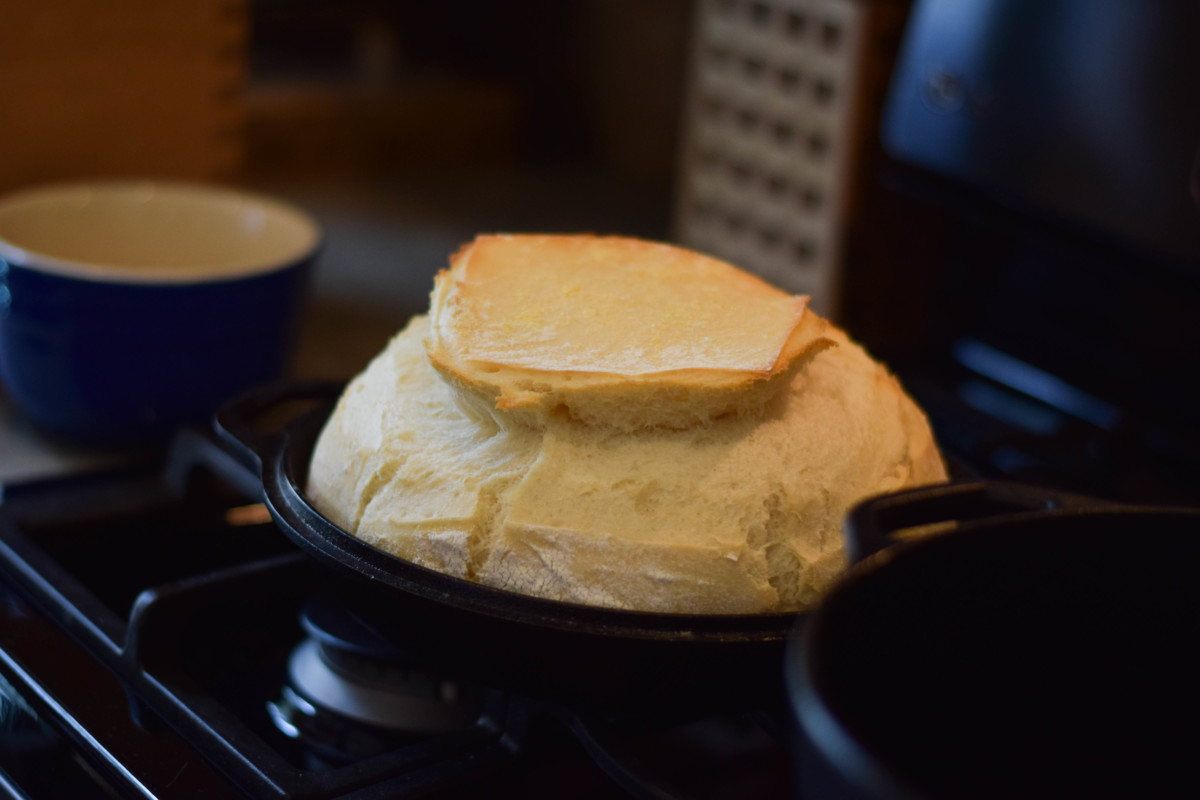
Once your loaves are golden brown and GORGEOUS and your house smells like happiness, take those puppies out of the oven.


Have you ever heard of the “Song of Bread?” It’s the crackling sound coming from a loaf of bread right after its been removed from the oven. Be sure to listen to their chorus!

When your bread is cool enough to enjoy, simply indulge yourself! Make sure you use LOADS of butter.


As you can see below, this “Dutch oven in your oven” technique gave us that perfect thick crust while also maintaining a soft and moist inside.

Keith also keeps bees, so we enjoyed some fantastic very local honey with our bread. This is why Keith keeps bees, and why we keep Keith. lol.


When your counter tops look like this, you know its been a good day. Good luck on all your bread making endeavors and feel free to reach out to us on Facebook if you have any questions or to share your bread creations!

Check out more fun stuff from the Crafts at www.culinarycrafts.com!
Special thanks to Kayla Canaan for the photos.
